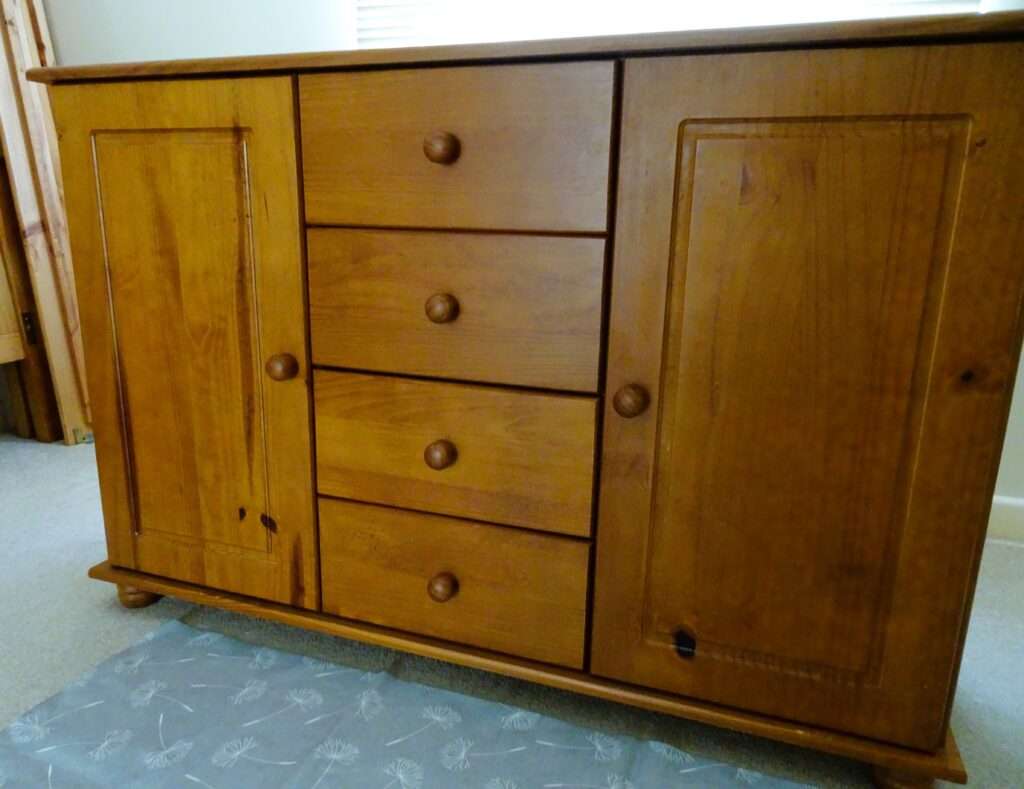
“It’s a shame it’s scratched and gouged,” I grumbled to Mr Word Loft, as I smoothed my palm over the surface of the sideboard storing my arts and crafts materials.
“Give it a lick of paint,” he replied nonchalantly. I didn’t think that would look right, but I don’t like to be wasteful, and the furniture is the ideal size for the office-come-workroom in our impending new home.
My son has left his Victorian typewriter with us for safekeeping, and we’ve decided it will look grand beside the printer on top of the sideboard. How could I upcycle the tired-looking piece to harmonise with an antique item, and a contemporary house’s interior?

I pondered and pondered and eventually decided upon découpaging the damaged wood, but would leave the cupboards and drawers plain.
When it comes to instructions, I prefer working from a book. The one I ordered turned out to be older than anticipated, though. The technique recommended was lengthy, and I was sure I had seen more up-to-date products to make the process easier.
YouTube was my next port of call. After watching video tutorials, I chose to use tissue paper and an all-in-one product that sticks, seals and finishes in matte or gloss. There are a few available, but I bought mine from Hobbycraft, along with writing-themed paper.
It becomes transparent when dampened with glue and whatever colour is underneath shows through. I filled in unwanted digs and scuffs on the wood, sanded it, applied masking tape to the edges, and then brushed on paint.
Once dry, a fine-grit sanding block smoothed imperfections away, and I was ready for the fun part and applied the adhesive. Well, I thought it would be fun until I tried layering a whole sheet of tissue paper onto the stickiness. ‘Wrinkles galore’ describes my efforts best. I’m not one to give up easily, but after wasting another sheet, I changed my mind about the method and plumped for décopatch instead of découpage.
Thinking about how to arrange small scraps of paper, either ripped or cut, then placed onto the paste, is so much more relaxing.
When complete, a final coat over the patches added the finishing touch, although I was worried at this stage. It was messy looking, but as it dried out, it was fine.
Lastly, I unscrewed the drawer and cupboard knobs and painted them with black gloss paint to blend with the typewriter’s shiny metal.
I’m more than happy with the result and décopatched a bookcase to match.
Now all I need is a moving date and for them all to be situated at our forthcoming address, but it seems I will just have to wait.
Until next time,
Sue. X